
This is a short tutorial on how to make a normal map in PhotoShop and bring it into XSI.
Let me begin with that you will need the Plugin from NVIDIA Developers and there are instructions on how to instull the Plugin on their site.
Go so either paint your texture first in Photoshop or get an image from the net. For the purpose of this tut I've just grabbed a image of a skull.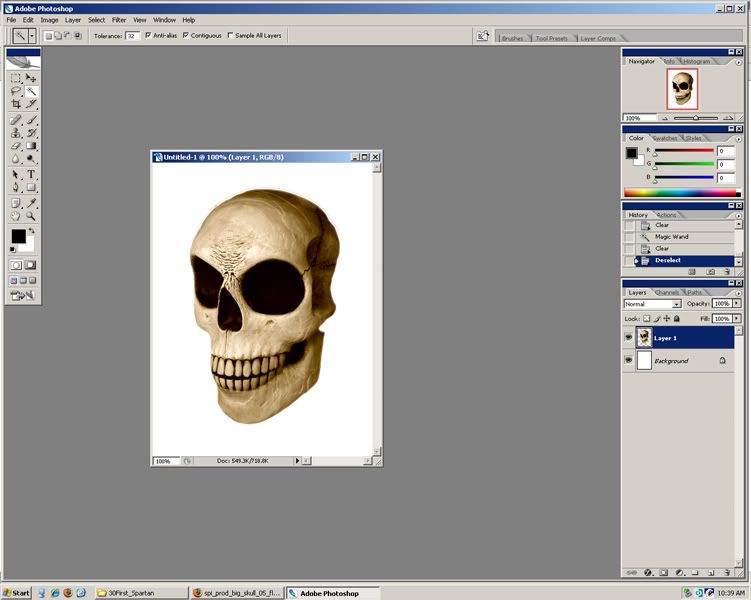
Ok so once you got your texture or image and installed the plugin go Filters > NVIDIA Tools > NormalMapFilter... You should get a menu like this: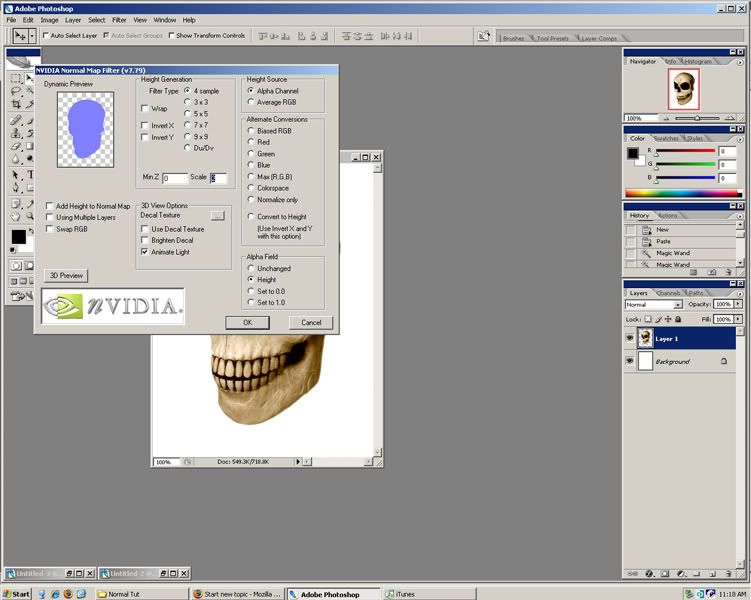
Now the setting are a little different for every picture but most of the time I find that if I go:
Check Add Height to Normal Map
Use 4 sample
Under Alternate Conversions click Max(R,G,B)
And Hit OK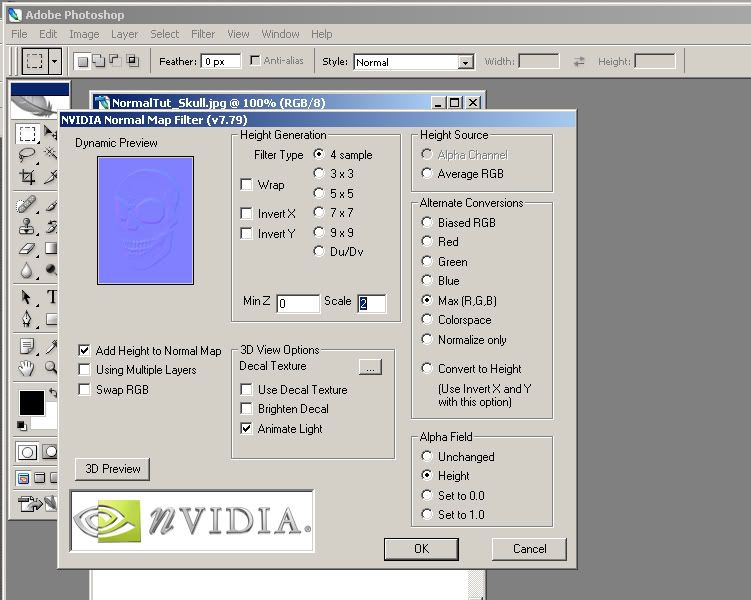
You should have someting like this: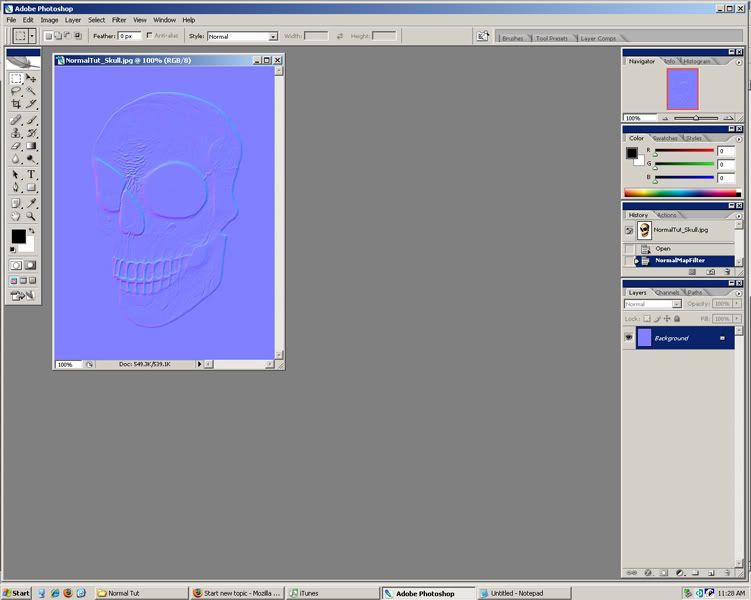
Save it out as a Targa at 32Bit and head over to XSI and grab your model. I'll be using a Cube for this Tut. Ok because your model is unwrapped and has proper texture perjections this is the easy part. Pull up the Render Tree of your model by hitting 7 on your keyboard.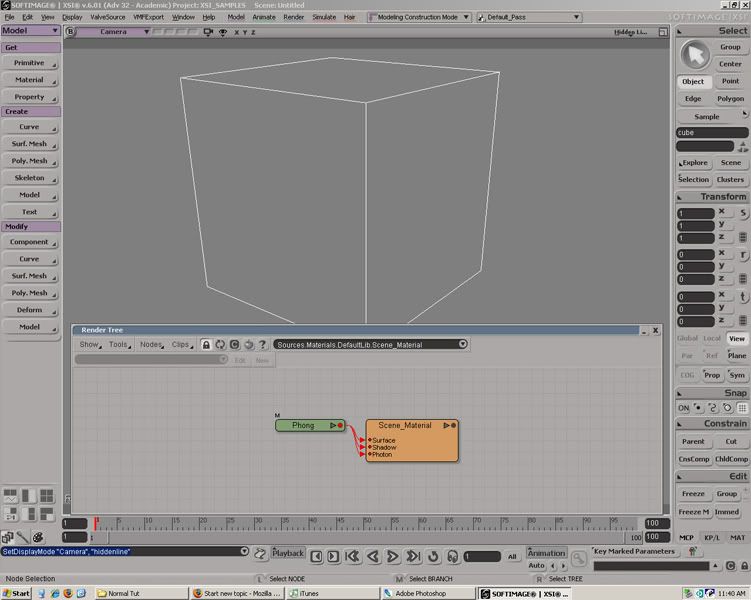
Go Nodes > Bump > Normal Map and attach it to your Materials Bump Map.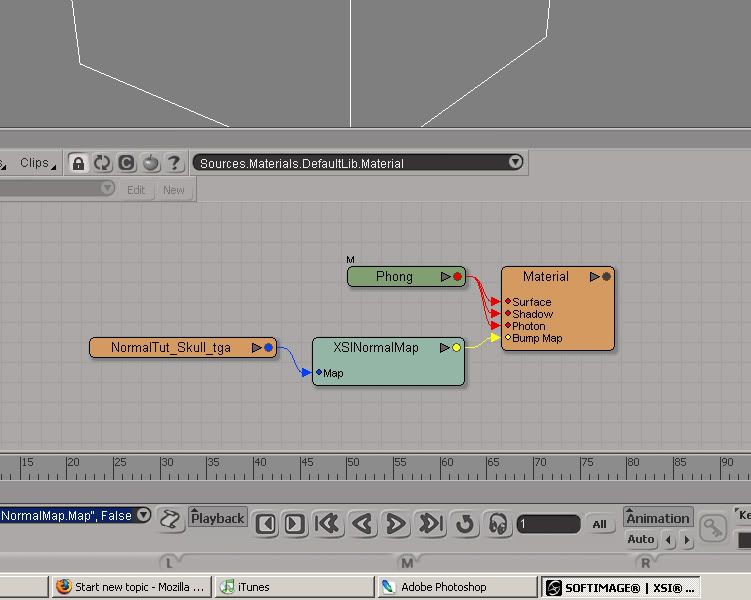
Now if you render you will probably not see it, that is cause you have told XSI to reconize normals yet on that object and you need to change your View Port from what ever you are (ex: Hiddenline) to Realtime Shaders > Open GL.
Then go to Render > Get > Property > Ultimapper and close your ultimapper I'll go into detail what the ultimapper does some other day but thats a different tut. You should now be able to render your object and see your displacement via normal maping.
Well thats that, making Normal Maps in photoshop and bring them into XSI for displacing.
Thursday, May 24, 2007
Making Normal Maps in PhotoShop
![]()
Subscribe to:
Post Comments (Atom)


No comments:
Post a Comment